Now that sfp is installed and connected to your server, let's walk through the core commands.
A. Build an artifact for a package
The build command generates a zipped artifact file for each package defined in your sfdx-project.json. The artifact contains the metadata and source code at the point of build creation.
Authenticate to your DevHub locally if you haven't already:
sforgloginweb--aliasdevhub--set-default-dev-hub
Open a terminal within your Salesforce project directory and run:
sfpbuild-vdevhub
The -v flag specifies your DevHub alias, which is required for building packages.
You will see logs with details of your package creation:
Build Outputs
A new artifacts folder will be generated containing a zipped artifact file for each package.
For example:
package-name_sfpowerscripts_artifact_1.0.0-1.zip
artifacts folder
B. Install the artifact to a target org
You can install artifacts to any org that is accessible. If the org is registered with your sfp server, you can authenticate through the server:
Or authenticate directly using sf CLI:
Then install:
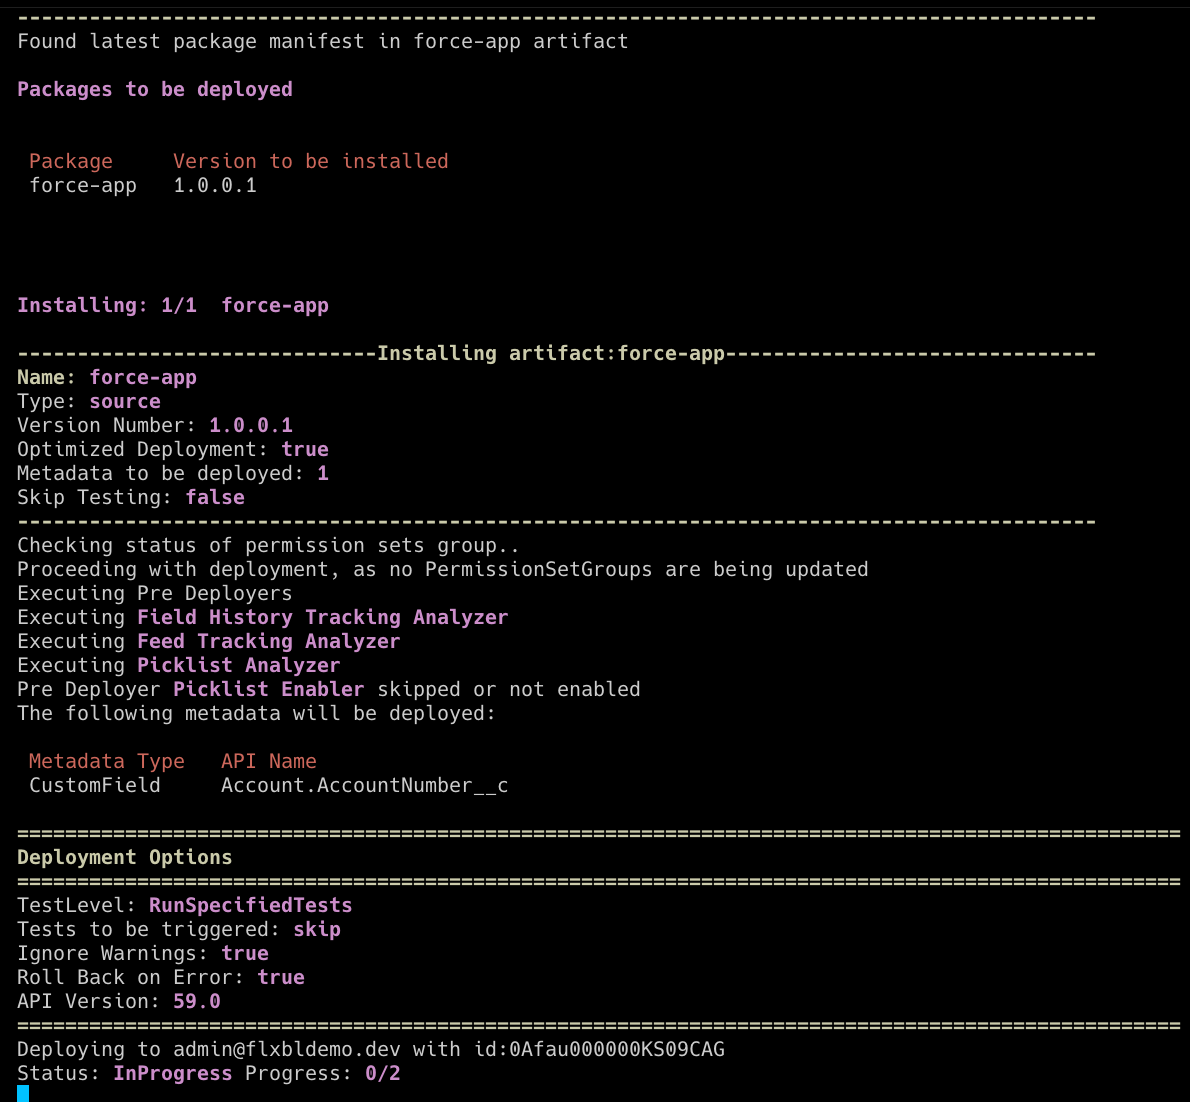
Install Outputs
Navigate to your target org and confirm that the packages are installed with the expected changes.
Depending on the type of packages, sfp will issue the equivalent test classes within the package directory and it could result in failures during installation. Fix the issues in your code and repeat till you get a successful installation. If your packages don't have sufficient test coverage, you may need to use all tests in the org. Refer to optimized installation.
# Authenticate to an environment via the server
sfp server environment get \
  --name UAT \
  --repository your-org/your-repo \
  --auth-type accessToken \
  --authenticate