Getting started with Pools
Setting up Pools for the first time — connect your repository, choose the appropriate Salesforce user, create a sandbox or scratch org pool, and fetch environments from it.
Pools keep a stock of ready-to-use Salesforce environments — sandboxes cloned from a source org, or scratch orgs created from source — provisioned ahead of time. This guide covers activating the feature and creating your first pool. If any term here is unfamiliar (Dev Hub, SFDX auth URL, GitHub App), the CI/CD getting started guide explains each one.
Step 1: Activate the feature
On the Activate Features page, open the Pools card and complete App Integration to connect your repository, as in Step 3 of the CI/CD guide. This step is shared with other features.
Activating Pools does not require a Dev Hub. Choose and register the connection needed by your pool type before creating a pool:
| Pool type | Required connection |
|---|---|
| Sandbox | Parent production connection: the production user used to manage the sandboxes. Dev Hub enablement is not required. |
| Scratch Org | DevHub connection: a user in a Dev Hub with the required scratch org permissions. |
Register the user through Register Org. For a sandbox parent, leave This is a DevHub org unchecked unless that user will also perform Dev Hub operations. Select by username: different users in the same production org can have different permissions.
The sandbox parent connection is used throughout provisioning, lifecycle management, and ephemeral review-environment authentication. Keep it available after the pool is created. Selecting a registered production connection does not prove that its user has all required permissions or sandbox licenses; see connection permissions.
Step 2: Create a pool
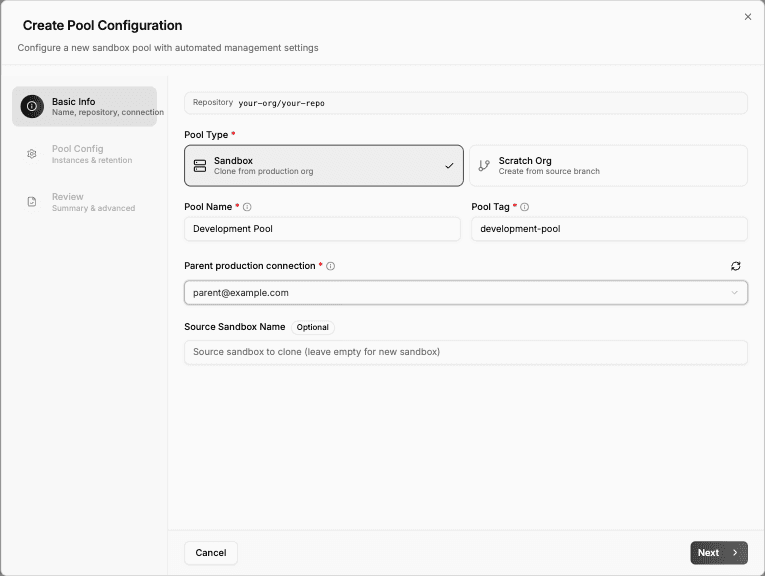
Under Pools, click Create Pool and work through the wizard:
- Basic info — pool type (Sandbox or Scratch Org), a name, a unique tag, the repository, and the Parent production connection or DevHub connection for that pool type. For sandbox pools, optionally a source sandbox to clone from.
- Pool config — minimum available instances (codev provisions more when the pool drops below it), maximum total, how long unassigned environments are kept, and the expiration strategy.
- Review — the generated configuration, editable before saving.
codev starts provisioning immediately and keeps the pool topped up from then on.
Step 3: Use the pool
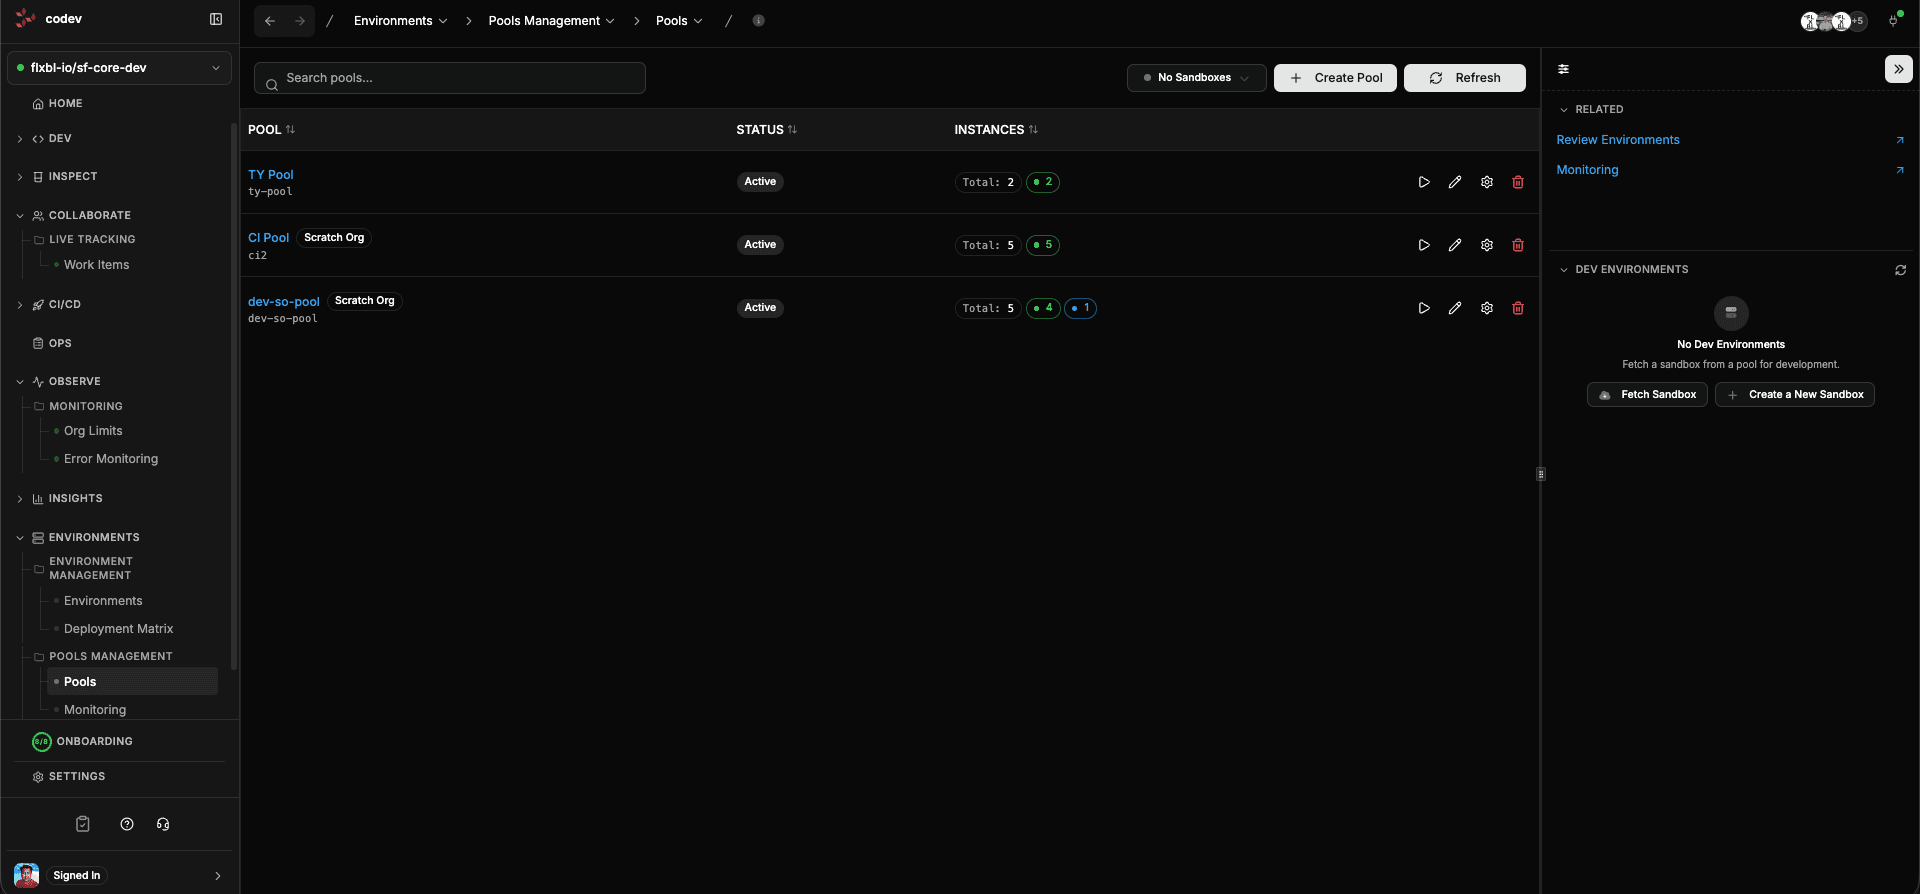
The Pools page shows each pool's provisioned, available, and assigned counts. Developers fetch an environment from a pool when they need a fresh org, and review environments are assigned from pools automatically when pull requests open.